

In the first part of this series, we looked at the basics of how scanning lasers work, so now we’ll cover the equipment that you need and how it all connects together.
 Photo: FFP Laser systems
Reminder : lasers are dangerous and you can permanently damage your retina. If you’re interested in working with lasers, please seek advice and supervision from qualified experts, and always wear eye protection.
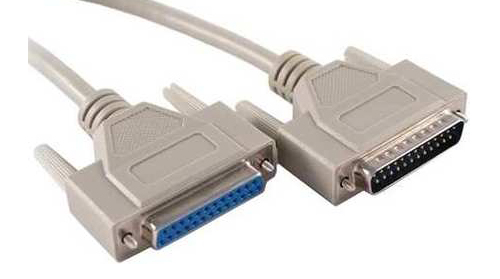 The ILDA laser interface uses standard 25 pin D-connectors.
First thing up on the equipment list: a hardware interface for the laser. The standard laser interface is called ILDA (named after the International Laser Display Association), and it’s an analogue format that uses standard 25 pin D-connectors, like parallel printers from the past. It’s a well established standard and most modern scanning lasers support it.
So we need something that can provide an ILDA connection and most ‘laserists’ use hardware/software solutions to produce laser shows with pre-set patterns. These systems are generally pricey, closed-source and totally proprietary.
Thankfully there is an open alternative – a hardware ILDA convertor called Ether Dream. You send data to it over a standard ethernet network, and the Ether Dream converts it into the analogue ILDA signal. (This type of laser interface converts digital into analogue, so it’s referred to as a DAC – Digital to Analogue Converter.)
And thanks to the openFrameworks addon that wraps the Ether Dream SDK it’s easy to get started with it. (Thanks Memo!). [NOTE – this is a very old post, and I have since been working on my own very powerful openFrameworks add-on called ofxLaser ]
 The open-hardware laser controller – the Ether Dream
I’ll show you how to work with openFrameworks and ofxEtherdream in the next post, but before that, we’re gonna need a laser. For the PixelPyros tour itself I rented a crazy high power 11W PIKO laser worth around €30,000. It can handle 80,000 points per second (PPS) and it’s an RGB laser so I’ll have full colour control.
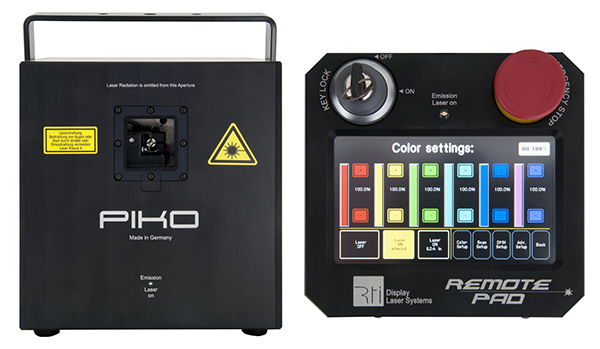 The powerful PIKO laser even has a fancy touch-screen controller!
For the R&D part of the PixelPyros project, I need a laser of my own in the studio to experiment with – the 11W laser could easily burn a hole in the wall so it would be a bit over the top! I asked LM for advice, and they recommended the Laserworld CS-1000RGB SE with upgraded galvos capable of 50,000 PPS, priced at around £1,000. [Please note – this is a very old post and I DO NOT recommend buying this laser. There are far better alternatives to get started with]

The LaserWorld CS-1000RGB SE – an RGB laser capable of 50KPPS
At 1W, it’s 11 times less powerful than the PIKO laser, but about 2,000 times brighter than an ordinary laser pointer, and still too bright to work with in a small space. I thought that all white lasers had granular control over each colour channel, so I was disappointed to find out that each of the 3 colours were either just on or off. Which meant I couldn’t reduce the brightness – if I want a laser with attenuation, i.e. granular control, I need to get a better laser. (Naturally the expensive PIKO laser is fully adjustable).
In the meantime all I could do is get some tinted acrylic to make the laser less blindingly bright, which helps my eyes!
Next up – the results of my experiments with the laser and the practicalities of getting good clear laser lines and dots.